Mabinogi World Wiki is brought to you by Coty C., 808idiotz, our other patrons, and contributors like you!!
Keep this wiki going by contributing to our Patreon!
Dynamic Lands
- For other Mag Mell missions, see Category:Mag Mell Missions.
| Mission Information | |
|---|---|
| Time Limit | None |
| Party Count | 1~8 |
| Quest Board Location | Mag Mell |
| Minimum Level | None |
| Minimum Total Level | None |
| Minimum Talent Level | Novice (Intermediate) Master (Hard) |
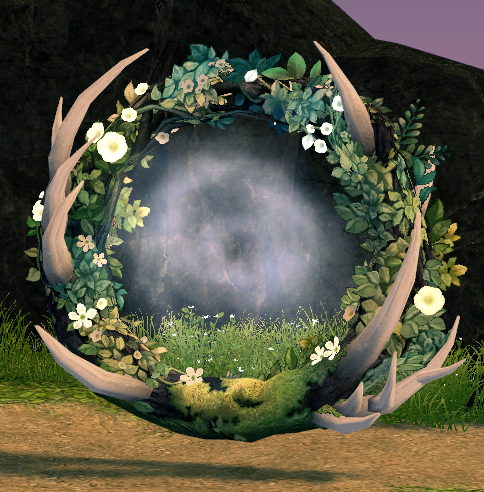
—Geata of Milky-White Thorns |
Description
- A Pet must be summoned to enter the mission. If the pet timer runs out, the pet will stay summoned until the player leaves.
- Players will be rewarded 5 Special Phoenix Feathers for entering the mission and for completing each stage of the mission.
- Special Phoenix Feathers are removed upon leaving the mission.
- Pets are automatically revived upon completing the Mag Mell mission, should they be knocked out.
- Players will be rewarded 5 Special Phoenix Feathers for entering the mission and for completing each stage of the mission.
- Blue or Purple enemies are immune to player damage, and take increased damage from pets.
- Red or Yellow enemies are immune to pet damage.
- Colourless or Green enemies have no special immunity.
Room 1: Four waves of enemies will spawn.
Spawns:
- Wave 1: Kerune's Guard Spirit (Colorless) x8
- Wave 2: Kerune's Guard Spirit (Blue) x6
- Wave 3: Mag Mell Ancient Tree Spirit x8
- Wave 4: Kerune's Guard Spirit (Colorless) x4 , Mag Mell Guard Cat (Blue) x 4
Room 2: Three waves of enemies will spawn.
- On the second wave, an area of effect will begin appearing, dealing fixed damage to the player standing on it.
- This can be avoided by mounting your pet.
- lvl 1: 0 (Intermediate)
- lvl 2: 20 (Intermediate)
- lvl 3: 300 (Intermediate)
- This can be avoided by mounting your pet.
Spawns:
- Kerune's Guard Spirit (Red) x5 , Mag Mell Ancient Tree Spirit x5
- Mag Mell Guard Cat (Blue) x10, Mag Mell Ancient Tree Spirit x5
- Kerune's Guard Spirit (Red) x5 , Kerune's Guard Spirit (Colorless) x5, Mag Mell Ancient Tree Spirit (Red) x5, Mag Mell Ancient Tree Spirit (Colorless) x5
Room 3: This phase has two parts.
Part 1: Interact with the stone at the center of the room. Pick up the orbs dropped by the defeated monster, and bring it to the stone.
- 20 Orbs are required in Intermediate, 30 Orbs are required in Hardmode.
- The orbs will despawn if not picked up within 20 seconds.
- When you hold an orb, your movement speed is reduced.
- While holding an orb, you cannot use skills or actions.
- If you get knocked back while holding an orb, you will lose it.
- A Devcat icon appears above the monsters vulnerable to pet damage for a very brief time after they appear.
Spawn pattern:
Note: These spawns always appear in order.
- Fairy dressed as a ghost (Green) x1
- Fairy dressed as a ghost (Green) x2, Ancient Tree Spirit (Blue) x6
- Fairy dressed as a ghost (Green) x4, Kerune's Guard Spirit (Blue) x4
- Kerune's Guard Spirit (Blue) x8
- After all 20 orbs have been given, you will be asked to finish off the remaining monsters before being able to move on to the next part of the phase.
Part 2: Miniboss:
- Mag Mell Guard Captain (Intermediate)
- Similar to a Nightmare Humanoid. It has Night Change and changes colors accordingly, although it does not state its night changes.
- It periodically summons 4 Onlooking Guard Spirit. They can be damaged by either player or pet.
- Mag Mell Mage Spirit (hardmode)
- Similar to a Demi-Lich?
Room 4: Four small Dynamic lands geatas will appear at the corners of the room. Destroy them in order to proceed to the next phase.
- Lure in and kill 7 of the dedicated monsters into the offering circles to make the geatas vulnerable to damage.
- Even after a geata is destroyed, the monsters associated with it will continue to spawn.
- It is advised to use mob control skills to better lure in the monsters. Stick to the sides of the room to avoid unnessesary aggro.
- Lullaby may be used to give the players a short reprieve to mount their pet and deal the killing blow for better control of the kills.
Spawns (Intermediate):
- Fairy dressed as a ghost (Green) x1?
- Fairy dressed as a ghost (Yellow) x1?
- Fairy dressed as a ghost (Purple) x2?
- Kerune's Guard Spirit (Colorless) x1?
- Kerune's Guard Spirit (Red) x2?
- Kerune's Guard Spirit (Blue) x2?
Spawns (Hard):
- Fairy dressed as a ghost (Green) x?
- Fairy dressed as a ghost (Yellow) x?
- Fairy dressed as a ghost (Purple) x?
- Fairy Pretending to be Grendel (All types)
- Fairy Pretending to be a Werewolf (All types)
- Fairy Pretending to be Argus (All types)
Room 5: Boss fight, defeat Kerune.
- Kerune periodically summons Mag Mell Ancient Tree Spirit x8, Kerune's Summon Spirit x8, Kerune's Guard Spirit x8. It is advised to use crowd control methods to deal with them, as their number constantly gets replenished and can easily overwhelm a party.
- Kerune will occasionally? approach the player or pet he is targeting and perform a bucking attack.
- Getting hit by Kerune's volley causes a momentary debuff similar to Silent Voice and prevents the player from attacking.
- If Kerune's volley hits a Natural Shield (only the ones left by Summon Spirits?) Kerune will stop and fall to his knees for a second.
- Defeating the Summon Spirits will cause them to leave a Natural Shield on the ground.
- The Summon spirits have Mana deflector. As such, Ice Spear is not a viable method for crowd control.
- Defeating the Tree Spirits will cause them to leave a wreath-like bramble on the ground.
- If Kerune charges over the wreath-like brambles his charge will stop and he will be stuck for a second.
- The Tree Spirit begin to spawn when Kerune first uses his shield (when he loses 10%? of his health?). After the first shield, Kerune will begin to use his charge attack.
- Kerune's charge will trigger him to cast a shield. (Need clarification.)
- Kerune will recover a percentage of his health while his shield is active. During this, Kerune is immune to damage, and damage must be dealt directly to the shield.
- The shield has ~??? HP on Intermediate and ~??? HP on Hard.
- Failing to take the shield down will reduce his defenses, but augment his attack power. (Need confirmation that Kerune's defenses are lowered, or if it's flavour text to say the shield is gone; needs confirmation if the effect stacks or if it has a duration.)
- Once the shield has been broken, a prompt will appear. One person can mount Kerune and begin a minigame using the WASD keys. A red aura will appear to the Left, Upper, or Right-hand side of the screen. The player must repeatedly tap the movement key in the opposite direction of the Aura. If successful, Kerune will spin or buck and repeat the process. Between 4-8 Successes, Kerune will be stunned and his defense/protection(?) will be dramatically lowered for 10 seconds.
- Kerune cannot be mounted if the player has a skill loaded.
- The Player is unable to take any other actions while mounting Kerune.
- The Aura never appears on the Bottom of the screen, so W is never used.
- Failing at the minigame results in an instant K.O.
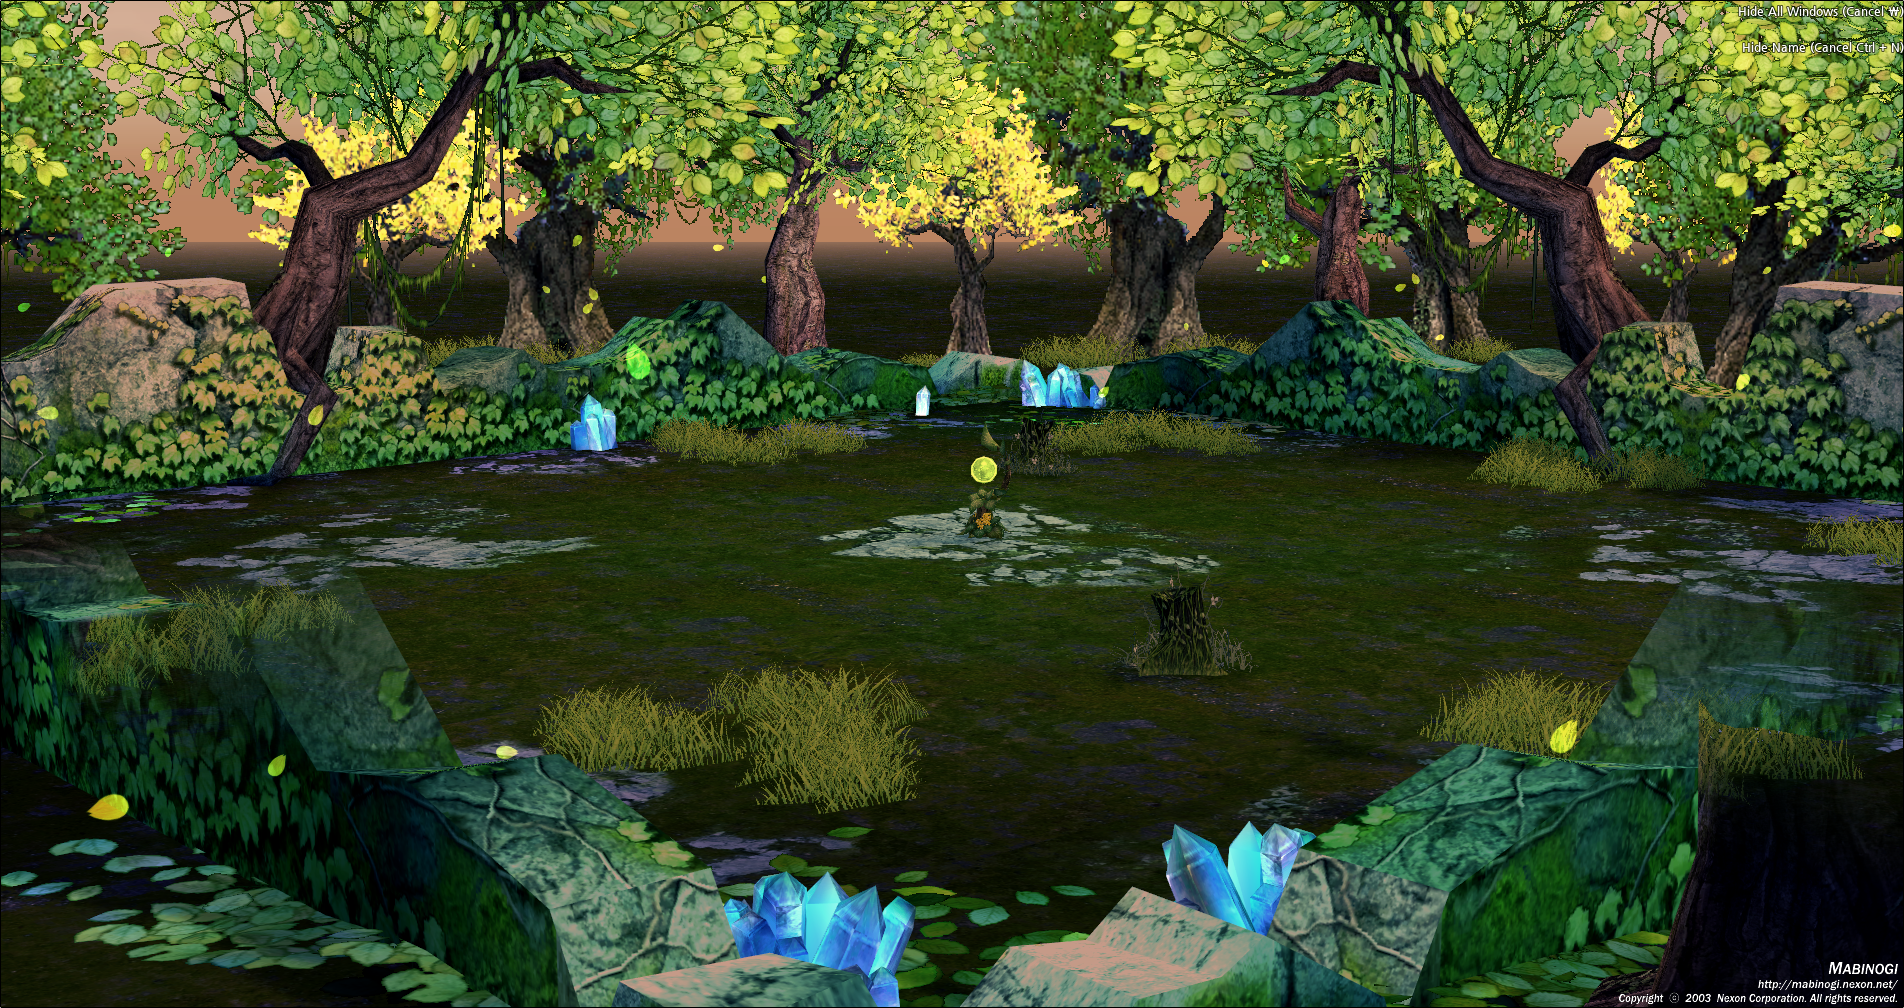
Map
Monsters
First Room
- Kerune's Guard Spirit (Colorless)
- Mag Mell Ancient Tree Spirit
- Kerune's Guard Spirit (Blue)
- Mag Mell Guard Cat (Blue)
Second Room
- Kerune's Guard Spirit (Colorless)
- Kerune's Guard Spirit (Red)
- Mag Mell Guard Cat (Blue)
- Mag Mell Ancient Tree Spirit
Third Room
Miniboss
Fourth Room
- Fairy dressed as a ghost (Green)
- Fairy dressed as a ghost (Yellow)
- Fairy dressed as a ghost (Purple)
- Mag Mell Guard Cat (Colorless)
- Mag Mell Guard Cat (Red)
- Mag Mell Guard Cat (Blue)
- Kerune's Guard Spirit (Colorless)
- Kerune's Guard Spirit (Red)
- Kerune's Guard Spirit (Blue)
- Mag Mell Ancient Tree Spirit
Fifth Room
Boss


