Mabinogi World Wiki is brought to you by Coty C., 808idiotz, our other patrons, and contributors like you!!
Keep this wiki going by contributing to our Patreon!
Awakened Abyssal Lord
- For other Tech Duinn missions, see Category:Tech Duinn Missions.
| Mission Information | |
|---|---|
| Time Limit | None |
| Party Count | 1~4 |
| Quest Board Location | Tech Duinn |
| Minimum Level | None |
| Minimum Total Level | 3,000 |
Description
- Phase 1: Defeat 3 waves of enemies and the surrounding crystal barriers in Tranquility Reach within the time limit.
- Phase 2: Clear the mini-areas of Deception Reach.
- Phase 3: Defeat 20 Coral Golems in an Offering Circle in Desolation Reach.
- Phase 4: Defeat the Barrier Bastion in Desolation Reach.
- Phase 5: Defeat several Soaring Legs in the Temple of Manannan.
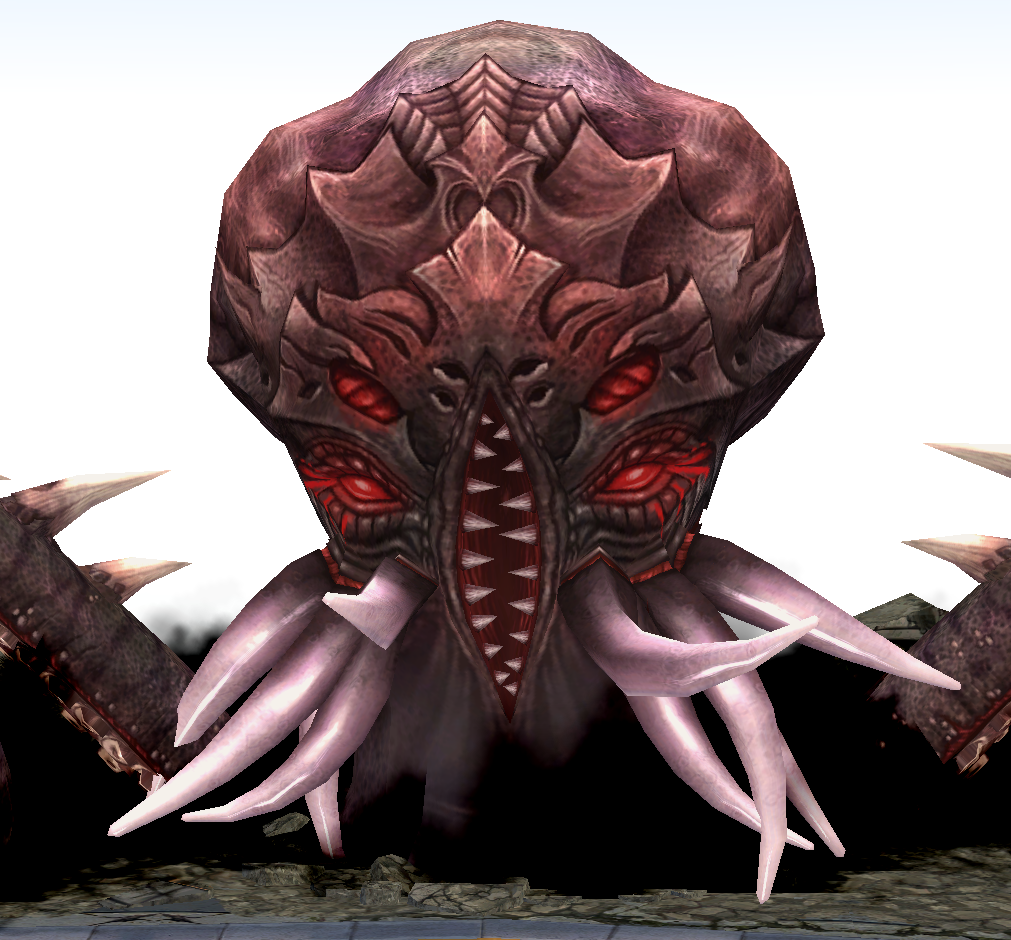
- Phase 6: Defeat Kraken Rex in the Temple of Manannan.
Notes
- Requires the completion of Generation 23: Tempest part 2 to enter, at which point players will receive the quest "Ascent to the Throne".
- All enemies besides Kraken Rex and its Soaring Legs have 18,000 HP on Normal difficulty, and 60,000 HP on Hard.
- During Phase 1, the party will have 200 (Normal), or 100 (Hard) seconds to clear 3 waves of enemies in Tranquility Reach, otherwise the mission will automatically fail. During each wave, at least 10 enemies (even those from a past wave) need to be defeated to move on. After defeating 10 enemies, the party must attack a barrier crystal before the next wave will spawn.
- Turtles will spawn during the first wave, Millipedes during the second, and Crabs during the third.
- The dungeon orb-like barrier crystals have an area of effect that damages players inside the aura overtime for massive amounts of health. Like dungeon orbs, however, Rock Throwing can be used to activate the switches if the player so chooses.
- After clearing the third wave, the party must destroy four crystals surrounding the portal to the next area.
- This is the only phase of the mission with a time limit or an auto-fail condition.
- During Phase 2, the party will have to travel through the eight islands of Deception Reach (Red, Orange, Yellow, Green, Blue, Indigo, Purple, Coral), and clear them of all enemies, including Haunted Corals and Carnivorous Plants. Once all the enemies on an island are defeated, a colored warp crystal will light up, allowing the party to use it to move to the next island.
- On the Coral island, rather than fighting enemies, the party must use Phantasmal Sight around a grove of coral reefs to find the teleporter, on two separate islands. Striking the wrong tree will spawn enemies, while striking the correct tree will cause the teleporter to glow red. If enemies are spawned during this time, they must be defeated before the party can continue.
- Along the path through the islands, players can use Phantasmal Sight to find a hidden Far Darrig. This Far Darrig will the colored transport gem to another island farther on the list of islands: the Green Island Darrig will skip to the Indigo Island, while the Purple Island Darrig will skip to the second Coral Island
- There is also a chance of finding a regular Mimic during the trip. Defeating it will yield an Oil Barrier, a Rune of Command introduced in G23 or, rarely, an Unadorned Commander's Emblem totem in which to place the aforementioned runes.
- During Phase 3, the party must defeat 20 Coral Golems inside an Offering Circle within Desoltation Reach. This Offering Circle has a massive area where golems can be defeated inside. Several golems will periodically spawn in and around the offering circle.
- Immediately after Phase 3, the party will start Phase 4, where they will have to climb the hill behind the Golem arena, defeating every Barrier Guardian Spirit along the way. Once at the top of the hill, they will have to face the Barrier Bastion. The Barrier Bastion will summon a large number of Guardian Spirits, and will take no damage as long as there is still a Guardian Spirit still standing. In addition, new Guardian Spirits will spawn every 10 seconds on Normal and 8 seconds on Hard to replace any fallen spirits, up to the maximum. In essence, the party has 10/8 seconds to defeat every Guardian Spirit and deal damage to the Bastion Spirit, until the Bastion Spirit is defeated.
- The Bastion Spirit can always be attacked, whether damage is inflicted or not, so using Death Mark on the Bastion is highly recommended for its ability to draw in nearby Guardian Spirits. Work quickly to draw all the Guardian Spirits close to the Bastion Spirit.
- Inflict as many debuffs on as many Guardian Spirits as possible, and try to freeze them using Frozen Blast to keep them in place while you prepare an attack.
- Use attacks that strike over a large area, such as Meteor Strike, Flame Burst, and Sakura Abyss, to deal as much damage to every Guardian Spirit as possible. Members of the party should try to synchronize the use of each skill with each other to ensure maximum damage output.
- The spawn for the Spirits operates on a global timer - there is no grace period given after defeating any or all of the Guardian Spirits. Attack the Bastion quickly while it is vulnerable.
- The Bastion will have a bar indicating when it will summon the next batch of spirits. Make sure to maximize the time needed to burst out damage. Spirits respawn only when the summon gauge finishes with spirits already defeated. The spawn amount may depend(?) on amount currently killed.
- In Phase 5, the party enters the Temple of Manannan, where they will have to fight the Soaring Legs of Kraken Rex. During both Phase 5 and 6, the party will also have to face Junior Krakens that swarm the arena.
- Each Soaring leg has 50,000 HP on Normal, and 200,000 HP on Hard.
- Upon reaching the Temple of Mananan, everyone player present will receive a Rune of Command Box containing a random amount of a single Rune of Command.
- Junior Krakens have no Defense or Protection, but spawn in large numbers and multi-aggro.
- Solo players may want to use Divine Link with a pet to mitigate knockback effects.
- The party must defeat 8 Soaring Limbs on Normal, and 12 limbs on Hard to finish this Phase.
- Soaring Limbs have three attacks.
- The limbs will slash downwards in a straight line, indicated by a corresponding long red area-of-effect box.
- The limbs will attack in an arc around them, attempting to abduct players that attack them before hitting them five times for massive damage (despite the circular shape displayed on the ground, this move can only grab in a half arc in front of the leg).
- After a certain amount of time has passed, or randomly if the leg has successfully abducted a player, the leg will self-destruct, causing moderate damage and poisoning nearby players and pets. Stay moving to avoid these attacks, turn on Mana Shield to mitigate damage if you can't avoid being grabbed, and try to only target legs you have watched emerge from the ground.
- If a Soaring Leg grabs a party member, Bone Dragons and Mir Dragons will release the Limb's grasp.
- The poison from the limb's explosion cannot be healed by remedies such as the Spirit of Tuan's summon effect.
- Soaring Limbs have three attacks.
- After clearing Phase 5, a cutscene will start, and Kraken Rex will appear. Reaching this phase will complete the quest requirement for "Ascent to the Throne".
- Kraken Rex will not spawn until the party leader has finished their cutscene.
- Kraken Rex has 800,000 HP on Normal, and 1,800,000 HP on Hard.
- More Soaring Legs will enter the arena to join the Kraken Juniors in attacking the party. Neither enemy has to be defeated to clear the mission, only Kraken Rex.
- The Soaring Legs usually spawn far away from Kraken Rex, and can usually be safely ignored.
- Kraken Rex has three main attacks. First, it will attack from a distance by causing a small explosion that spawns underneath a player's current position. Second, it will use two special Soaring Legs on either side of its head to do a slash or sweep attack, knocking away players. Finally, after its HP is reduced enough, Kraken will growl and lift its head, signaling its Ink attack, which will inflict damage and obscure the screen for a short time. Use an Oil Barrier (Kraken Ink) in your inventory to block it, or maintain a good method of healing to counteract the damage.
- The two special Soaring Legs can be attacked while Phantasmal Sight is in effect. Defeating these tentacles will prevent Kraken Rex from using them to attack, as well as yield special Kraken cooking ingredients.
- Defeating the Soaring Legs is not a requirement to beat the boss, and generally Kraken Rex is the only enemy focused during the final battle.
Map

Monsters
- Phase 1
- Phase 2
- Phase 3
- Phase 4
- Phase 5
- Phase 6 Boss