Mabinogi World Wiki is brought to you by Coty C., 808idiotz, our other patrons, and contributors like you!!
Keep this wiki going by contributing to our Patreon!
Revived Illusion
- For other Tech Duinn missions, see Category:Tech Duinn Missions.
| This article contains spoilers. If you do not wish to read further, please return to the home page. |
| ||||||||
—Marleid |
Website Description
Description
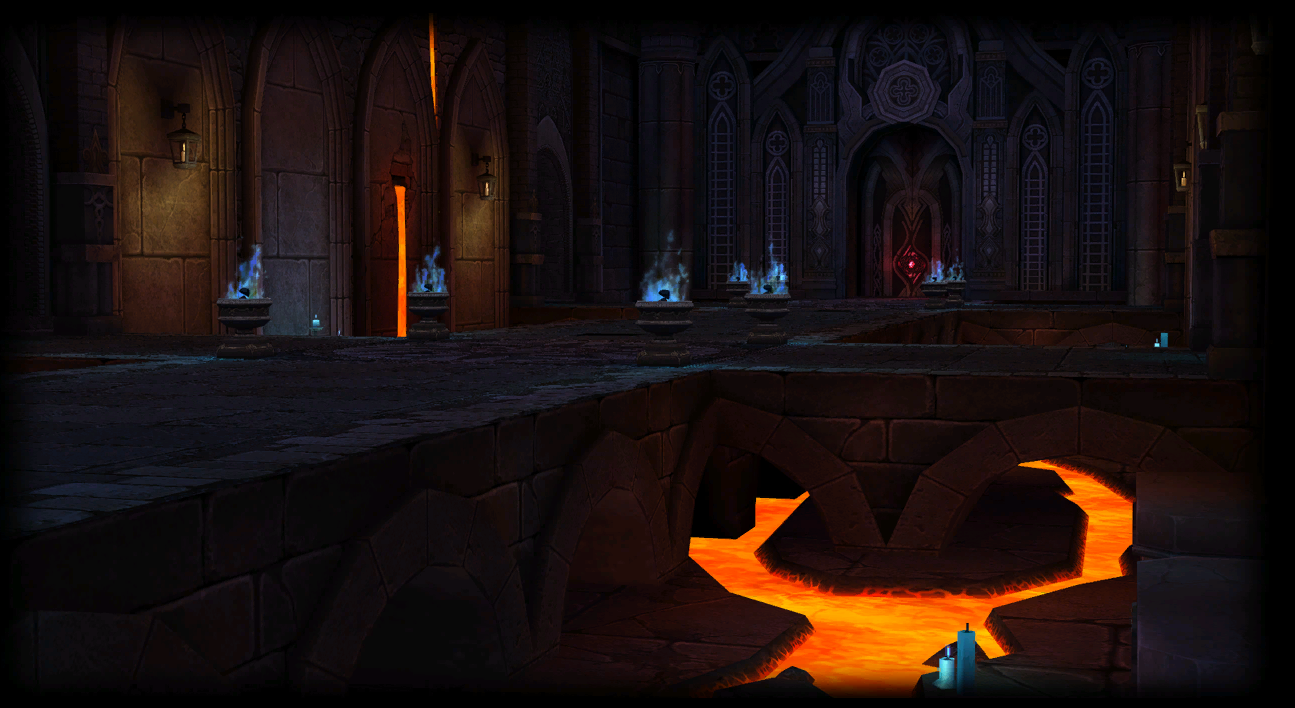
Revived Illusion is one of the areas that can be reached by passing through the Geata in Tech Duinn. It is the lair of the Order of the Black Moon, where they attempted to revive the old Fomorian leader, Balor Beimnech. However, while the Balor that was awakened there is but a shell, it still remains as deadly.
It is considered a Shadow Mission by game standards, and the general rules that apply there also occur.
Requirements
The player must complete Generation 22 in order to access this mission.
- Players that enter the Tech Duinn area cannot enter this or any other Tech mission prior to clearing G22.
Soul Offering
For each party member that dies in this mission, Balor will be empowered.
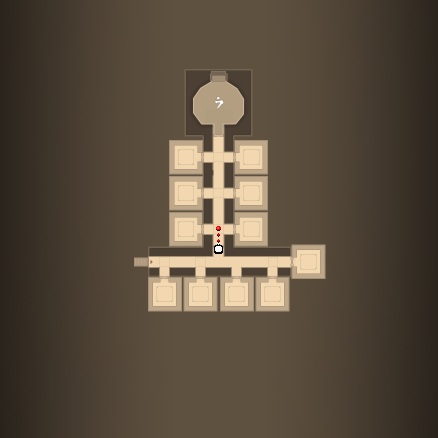
Map
Advice
- Certain changes occur based on the difficulty chosen:
- Mob spawn sizes and variety increases dependant on the difficulty.
- Lava Spots casted by Balor and Salamanders scales up in damage dealt by difficulty.
- Pets generally cannot handle the damage from the lava rings, even with Divine Link.
Room Types
Hallway 1
- Clear all 5 rooms and rescue the hostages in order to proceed to Hallway 2.
- Among the room types, three of them will be regular orb switches, and two of them will be hostage rooms. These will have a white circle and an NPC in the center of them.
- Hostage Rooms:
- Standing on the circle will cause Black Moon followers to spawn and attack. Clear the room by standing on the circle (and staying on it) for a certain period of time.
- The time it takes to undo the binding circle varies with the amount of players standing on it and difficulty. The more players that are on the binding circle, the faster it will be undone.
- The size of the circle will gradually shrink over time until it disappears.
- If all party members are knocked off of the circle for a certain period of time then the room will reset itself and all progress on shrinking the circle will be lost.
- Skills that drop or manage aggro such as Crisis Escape and Shadow Cloak cause the player to not be considered as being on the circle and so cannot be used to buy time. All enemies are immune to Shadow Bind.
- Mobs spawned in these rooms do not give EXP.
| Normal | Hard | ||
|---|---|---|---|
| 2.50% | 0.75% | ||
| Binding circle reset timer (stage 3 to 0) | |||
| ? | ? | ||
- The Tenacious Taunt Technique can be used on a pet to redirect the aggro onto a pet, so long as their owner does not enter the binding circle.
- On Hard difficulty, two Salamanders spawn with a self-destruct timer periodically. Upon its death, it casts a lava spot, stunning and damaging players within it.
- This can be mitigated with Mana Shield and high Magic Defense and Protection.
- There are indicators to show when they're about to self-destruct and lay down their lava ring. [2]
- It is recommend to use Spinning Slasher to easily group the Salamanders away from the binding circle, or use Wind Blast to push them away.
Intermission
A number of NPC hostages will spawn in the middle of the hallway.
- Talking to the hostages will cause a Geata to appear at the entrance.
- The first time this is triggered during the mission, an unskippable cutscene occurs.
- Solo players are recommended to let the cutscene play out before preparing to take down the Geata.
- Players need to micromanage the onslaught of enemies as they make a break towards the prisoners.
- The first time this is triggered during the mission, an unskippable cutscene occurs.
- The Gate will continually spawn Black Moon followers who will then proceed to rush towards the hostages.
- At higher difficulties, the followers run much faster.
- On Normal/Hard(?), some Black Moon Followers will seldom run faster than others.
- Whenever a Black Moon follower reaches a hostage, the number of hostages will decrease.
- Defeat the Geata to clear this part of the mission.
- If all the hostages disappear, then all progress for this part will be reset and the lost hostages will respawn in the middle of the hallway.
- At Normal Difficulty, it takes 30(?) Black Moon Followers.
- At Hard Difficulty, it takes 15 Black Moon Followers.
General Advice:
- Flame Burst is a good skill to continuously use, especially on higher difficulties.
- Killing any enemy will cause new ones to spawn which have to be aggroed again.
- A strategy may be to damage the followers as little as possible and have them all instead aggro pets.
- Final Hit should be used with caution, as summoned Followers may have Counterattack loaded.
Geata-specific Advice:
- Splitting the party to have the strongest hitters take care of the Geata while the other party members impede the followers is advised.
- Using Death Mark on the Geata with a high damage skill with large splash radius may help keep the enemies in check.
- Players should make use of skills and other benefactors to maximize damage output, including the Bone Dragon and Mir Dragon's debuffs, Exploit Weakness or Redoubled Offensive Techniques. Shattering Windmill and Dynavolt Smash from an Elemental Knight, the Dark Diviner's Polar Vortex, Thunderblight combined with Shadow Flare, or an Alchemic Sharpshooters abilities.
Black Moon Follower wave advice:
- Making use of skills such as Divine Link and Thunder to redirect the followers AI to attack the pet is one common method.
- Dance of Death, used with Encore, is also a good option.
- Using Dance of Death while linked with a Pet will redirect aggro to the player's pet. If done right, it's possible to let all Enemies aggro a player's Pet.
- The Fantastic Chorus's red circle area may help slow down the followers.
- Players should make sure their Pet stays close by to ensure Divine Link between them doesn't break.
- A high rank of Guardian Oath, Sacred Revival or Floral Shield can make this section easier asw ell since it will prevent the player's pet from being knocked out.
Hallway 2
Hallway 2 consists of 6 rooms.
- 4 Orb rooms - 2 will spawn one to two waves of monsters, while 2 will spawn Red Lizard Witches and Bomb Bats.
- 2 Monolith rooms
- On Hard, Grendels will spawn in the second hallway of rooms.
- The Grendels that spawn will have the Hard Buff that boosts its physical and magical defenses and protection.
- This buff can only be removed from the Grendels once they touch a Salamander's Lava Spot.
Monolith Rooms: Monolith rooms have an un-targetable Evil Eye Monolith at their center that will cast a specific spell, on top of regular spawns.
- The monolith may be destroyed at the beginning of the fight, before they take on a color relative to the spell it'll cast.
- On Hard, Evil Eye Monolith have the following changes:
- They will be able to cast an Interrupted Connection debuff.
- On Hard, Evil Eye Monolith have the following changes:
- Two waves spawn in orb and monolith rooms on Hard, unlike Normal which has one.
Red Lizard Witch Rooms:
- Red Lizard Witches will have a time bar underneath them to indicate when they are going to spawn in Salamanders.
- Players using high burst damaging skills, such as Meteor Strike and Nova Obliteration, must be aware of the Bomb Bats caught in the range of such skills. The player may most likely be put in deadly, which could lead to death from said monster(s) once it explodes from its death.
Boss Room
- Every time a player dies in the mission, Balor gains a buff in various stats. This does not apply when the players are actually inside the boss room. Pet deaths do not count to buffs.
- The Salamanders Balor will summon will constantly get replenished if their numbers is low.
- Like the Grendels, Balor will have the Hard buff so it is recommended to kill a Salamander near Balor to clear the buff, by using skills such as Death Mark
- Lava Spots casted by Balor's Flaming Towers scales up in size and damage dealt comparatively to the difficulty of the mission.
Hard Difficulty changes:
- The casting radii of the fire pillars cannot be seen until 0.5-1 second of execution.
- Four of Evil Eye Monoliths will spawn alongside Balor in the boss fight.
- They continuously rotate throughout the battlefield via Teleportation on a 10-20(?) second interval.
- Certain alignment patterns include: a diagonal line, large square, small square (near the center of the room), and a straight line against a 4x4 grid.
- Balor gains access to a new skill similar to the Cleric Stage in Seven Nightmares, with the added effect of restoring its own HP.
- They continuously rotate throughout the battlefield via Teleportation on a 10-20(?) second interval.
Monsters
Hallway 1
Orb type 1
- Bomb Bats
- Red-tipped Tarantulas
- Black Moon Follower (Archer)
- Black Moon Follower (Blue Shield)
- Black Moon Follower (Red Shield)
- Black Moon Follower (Mage) (Strong)
- (Hard) Salamander
Orb type 2
- Black Moon Follower (Archer)
- Black Moon Follower (Blue Shield)
- Black Moon Follower (Red Shield)
- Black Moon Follower (Mage) (Strong)
- (Hard) Black Moon Follower (Mage) (Strong)
- (Hard) Salamander
Circle Room
- Black Moon Follower (Archer)
- Black Moon Follower (Blue Shield)
- Black Moon Follower (Red Shield)
- Black Moon Follower (Mage) (Strong)
- (Hard) Salamander
Intermission
- Tech Duinn Geata (Revived Illusion)
- Black Moon Follower (Blue Shield)
- Black Moon Follower (Red Shield)
- (Hard) Black Moon Follower (Mage) (Strong)
- (Hard) Bomb Bat
Hallway 2
- Salamander
- Evil Eye Monolith
- Bomb Bat
- Red Lizard Witch
- Summons Salamander x3
- Chon Chon
- (Hard) Grendel (Tech Duinn)
- (Hard) Hellcat (Tech Duinn)
Boss
- Illusion of Balor
- Salamander x3 (continuously replaced)
- (Hard) Evil Eye Monolith (Revived Illusion) x4
Monster Spawn Patterns
Rewards
Trivia
- It used to be possible to use Anchor Rush to enter Hostage Circles without drawing aggro by anchoring into the circle from the hallway.
- This and many similar tricks have been procedurally patched out over time.

