- For the in-game script of this Generation, see Script - Generation 2: Paladin.
< Generation 1: Advent of the Goddess Generation 3: Dark Knight >

|
This article contains spoilers.
If you do not wish to read further, please return to the home page.
|
|
|
- To start Generation 2, you must have completed Generation 1 or talked to Duncan about storyline change when your cumulative level is 100.
- All Generation 2 Dungeons can only be done solo.
|
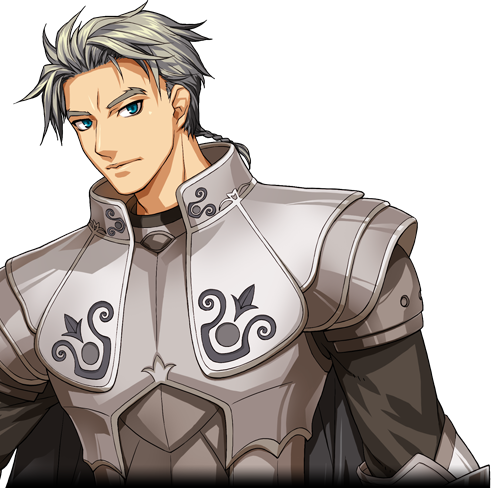
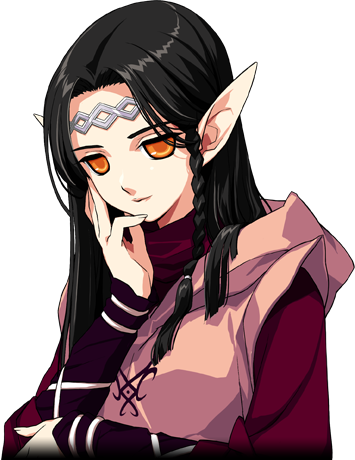
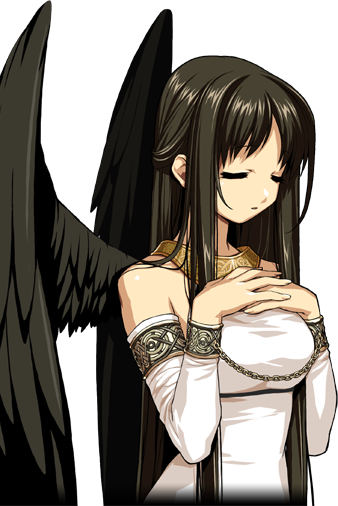
Generation 2: Paladin revolves around the Milletian trying to find the true path of the Paladin (if Human), Falcon (if Elf), or Beast (if Giant) in order to overcome the Dark Knights, where Morrighan guides them around Uladh in order to accomplish their goals while stopping another evil. The adventure brings forth a new town, Emain Macha, and an island, Ceo Island.
Changes in Generation 2 Due to Updates
- You must complete Generations 1 through 3 in order to proceed into later generations.
- Elves and Giants can now perform Generation 2.
- Time restrictions were removed and Gold/EXP rewards were adjusted.
- Players who are still performing Generation 2 will be able to continue with the normal version if they wish to do so, however they are unable to proceed with the new version of these Generations.
- Players who have already finished Generation 2 may redo the old one.
- Players will not lose their Transformation if they decide to redo them.
- Transformation restrictions still applies in certain dungeons.
- Elves and Giants will be able to Transform in any dungeon.
- Waiting time between all quests has been either removed or reduced.
- Relogging/Changing-Channels is not required to view cutscenes. Instead, they come at specific times.
- You do not need to pay 4,000 gold to obtain The Lord's Invitation.
- You only need to run Barri Dungeon Pass for Paladin-in-Training once instead of five times.
- You do not obtain a Old Cloth with Design and therefore no longer need to run Fiodh Dungeon.
- Good Deeds no longer requires talking to the Beggar, Agnes, Del, Osla, Jocelin, and Wyllow.
- The second Morrighan cutscene was moved from Lugh, the Knight of Light to Blessing of the Spirit.
- Ideal Types have been reduced from three to one ideal per town.
- Galvin's Ideal is now "Delen".
- In addition, you no longer need to talk to Nele.
- You no longer need to talk to Gilmore and purchase a pass for Mythril Mine.
- Price's series of quests was shortened into one quest.
- In addition, Riocard no longer needs to be spoken to.
- You no longer need to talk to Craig in Esras's Plot.
- The Paladin Passive Defense Quest was removed. Paladin Heavy Stander, Paladin Mana Deflector, and Paladin Natural Shield are now rewarded upon completion of Generation 2.
- The storyline can now be replayed after completion.
- This can only be done in parts, however.
- For example, playing Knight of Light completes after the quest Paladin Training Couses is completed; you will not proceed into later parts of the story.
- This is similar to how Saga works.
- When replaying Generation 1, quests appear in the Replay tab instead of the Advent tab.
- Korean voiceovers have been added for NPCs during Generation 2.
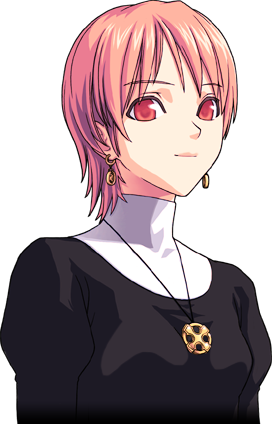
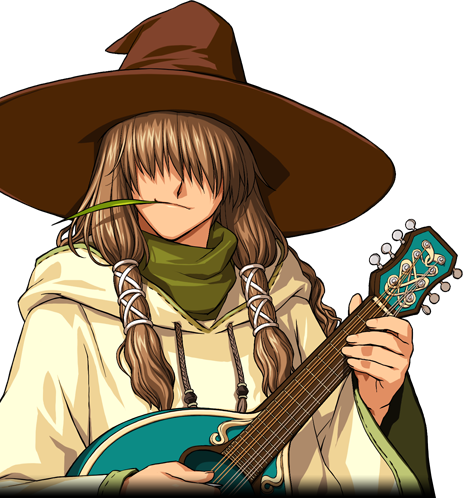
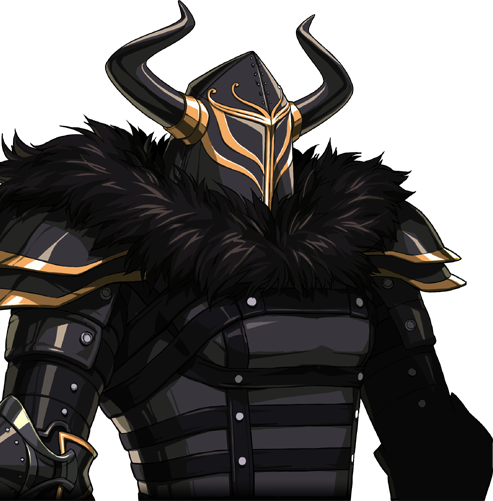
NPCs involved in Paladin
NPCs involved in Paladin
[show]
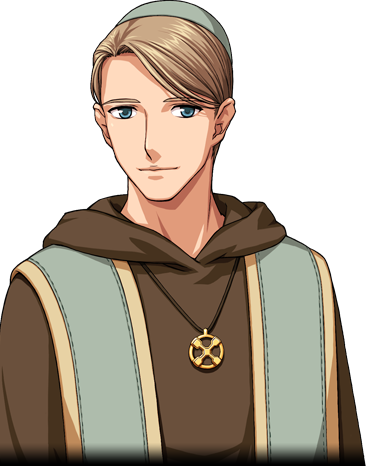
Knight of Light
The Knight of Light
Paladin Training Courses

|
Name
|
Paladin Training Courses
|
NPC
|
Craig
|
| Information
|
All dungeon passes you receive from Craig during the course of this quest are solo passes. You must be able to clear the dungeon on your own. Using a pet will help tip the odds in your favor. You may also want to stock up on potions, as well as have decent combat skills.
|
| Instruction
|
- Drop the Barri Dungeon Pass for Paladin-in-Training on Barri Dungeon's Altar. For more information on the dungeon, click here.
- Warning: If you are re-doing this Generation, do not Transform before entering. Entering while transformed will cause the dungeon change to Barri Normal.
- If you fail to complete the dungeon, talk to Craig with the "Dungeon Pass" keyword to receive another pass.
- You will fail if you leave the dungeon any way other than the Goddess Statue.
- Talk to Craig. He will give you a Math Dungeon Pass For Paladin-In-Training and a Red Wings of a Goddess that transports to Math Dungeon.
- Drop the pass on Math Dungeon's Altar.
- Warning: If you are re-doing this Generation, do not Transform before entering. Entering while transformed will cause the dungeon change to Math Normal.
- If you fail to complete the dungeon, talk to Craig with the "Dungeon Pass" keyword to receive another pass.
- This dungeon is approximately one fourth the original Math, with the same spawn. Occasionally, you may run into Mini Skeletons.
- After several rooms, a cutscene will occur. In a small locked room, you must fight Triona, then Ruairi.
- You will be allied with 4 Paladins-in-training during the fight.
- Beware that their Splash Damage can hit you.
- Triona has about 100-150 HP and does not attack you. Defeat her, or let the Paladins-in-training do it, to initiate the next cutscene and the battle with Ruairi.
- Ruairi, on the other hand, has extremely high Protection, Wound rate, Damage, and HP. You can not damage Ruairi. Let him defeat the Paladins In-Training to initiate the cutscene that ends the dungeon.
- Manually complete the quest and receive 13000 EXP, 10 HP 30 Potions, and 5 Stamina 30 Potions.
|
Knights of Light: Lugh and Redire
Lugh, the Knight of Light


|
Name
|
Lugh, the Knight of Light
|
NPC
|
Nele
Price
Craig
|
| Information
|
Price is a traveling merchant that moves all over Uladh, making him hard to find. Every in-game day at midnight (12:00AM or 0:00), Price moves to different location. This is 36 minutes in real time. Use Mabinogi World's Price timer located on the right side toolbar for Price's current location. The time is displayed in 24 Hour format. Be sure that your "Date and Time Settings" on your computer is correct, as the times displayed will be adjusted to match your Timezone.
|
| Instruction
|
- Talk to Nele located at Emain Macha Square.
- Talk to Price. You will receive the Redire's Demise Keyword and a cutscene will follow after.
- Price appears all over Uladh, and is rather difficult to find on one's own. Use the Traveler's Guide Menu to quickly locate Price.
- Talk to Craig. You will receive the Paladin and Dark Knight Keyword.
- Talk to Price. You will receive Price's Memo.
- Manually complete the quest to receive 33000 EXP, 10 HP 30 Potion, and 5 Stamina 30 Potion.
|
The True Meaning of Good Deeds
Deliver the Letter to Aeira


|
Name
|
Deliver the letter to Aeira.
|
NPC
|
Aeira
|
| Information
|
|
| Instruction
|
- Talk to Aeira located at Dunbarton's Bookstore. She will take Price's Memo from you.
- Manually complete the quest to receive 5000 EXP and the book Food for the soul for true good deeds.
- The book cannot be burnt, dropped, or destroyed. Talk to Aeira to return it to her after you have read it.
|
Do Good Deeds

|
Name
|
Good Deeds
|
NPC
|
Delen
Galvin
Aodhan
Aranwen
|
| Information
|
If you kept the book, Food for the soul for true good deeds, from the previous quest, you may return it to Aeira, as there is no other way to get rid of the book.
|
| Instruction
|
- (Optional) Read the book to receive the Good Deeds Keyword.
- Talk to Delen located at Emain Macha's Square. She will modify the keyword's description.
- Talk to Galvin located at Emain Macha's Observatory.
- Talk to Delen.
- Talk to Aodhan located in front of Emain Macha's Castle.
- Talk to Aranwen located at Dunbarton's School.
- Bug Notice: Do not complete the quest while speaking to her as a cutscene will occur, robbing you from knowing what she will say and the ability to move without first continent warping, or changing channels.
- Manually complete the quest to receive 15000 EXP. A cutscene will occur.
|
Requirements of a Knight of Light
Blessing of the Spirit

|
Name
|
Blessing of the Spirit
|
NPC
|
Tarlach
Aer
|
| Information
|
|
| Instruction
|
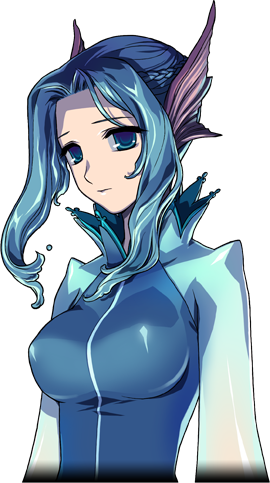
- Talk to Tarlach located at the northernmost point Sidhe Sneachta. You will receive the keyword Aer, the Spirit of Water.
- During the day, you can speak with the Bear and select "Wait until nighttime" to speak with Tarlach.
- Talk to Aer located at Ceo Island. You will receive the Ideal Look Keyword.
- The only way to reach Ceo Island is through Moon Gates.
- Aer is located in a subterranean area; after crossing the narrow pathway to the northeast, there is a staircase. Follow it and the preceding corridor to reach Aer.
- Manually complete the quest to receive 9500 EXP.
|
Finding Ideal Types

|
Name
|
Finding the Ideal Types
|
NPC
|
Aer
Various
|
| Information
|
Use the Moon Gates to quickly traverse Uladh.
|
| Instruction
|
- Wait for the quest to arrive.
- Acquire one Ideal Note from Tir Chonaill, Dunbarton, Bangor, and Emain Macha.
- Can be done in any order.
- While you are on this quest, a few NPCs in the 4 towns will have an extra conversation option, Ideal Look. Selecting it will give a short response followed by a pop-up box allowing you to enter the name of another NPC that is their ideal type.
- Optionally, you can talk to various additional NPCs with with the Ideal Look Keyword then match them with a nearby player if that player matches a set of criteria for that NPC. This is a system from a previous version of the quest and it is completely optional with no additional rewards. See Ideal Types for more information and tables of compatible ideal types.
- Manually complete the quest to receive 35000 EXP.
|
Finding Ideal Types

|
Name
|
Finding Ideal Types
|
NPC
|
Aer
|
| Information
|
|
| Instruction
|
- Talk to Aer. A cutscene will occur.
- Talk to Aer again. You will receive Aer's Letter.
- Manually complete the quest to receive 9800 EXP.
|
Mythril Armor


|
Name
|
Mythril Armor (Human)
Power of the Ancient Elves (Elf)
Power of the Ancient Giants (Giant)
|
NPC
|
Edern (Human)
Atrata(Elf)
Taunes (Giant)
Aer
|
| Information
|
For Humans: The Mythril Mine contains an Ogre Warrior as the boss. Take all necessary measures (such as healing, mending, looking over skills, and/or lag issues) before confronting the Ogre Warrior.
For Elves and Giants: There is a chance that the boss will either spawn unresponsive or become unresponsive during the Heavy Stander part of the boss.
For All Races: You will be role-playing as an animal. This is will be a little different than role-playing as humanoid characters.
|
| Instruction
|
- Talk to Edern located at Bangor's Blacksmith Shop. You will receive the Mythril Mine Keyword and exchange Aer's Letter for a Mythril Mine Pass.
- Drop the Mythril Mine Pass on Barri Dungeon's Altar. For more information on this dungeon, click here.
- Talk to Edern. He will take Goibne's Blacksmith Manual for Mythril Armor in exchange for the Mythril Armor Keyword.
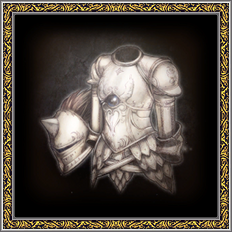
- Talk to Aer. Players will receive the Mythril Armor with the Spirit's Blessing, a Red Wings of a Goddess that transports to Ciar Dungeon, and the Power of the Spirits' Blessings Keyword.
- Drop the armor on Ciar Dungeon's Altar. For more information on the dungeon, click here.
- You will RP as a White Wolf.
- The boss is a Giant White Wolf.
- When the boss starts talking (e.g. "I am powerful.", "You'll need to break my concentration. It may be in a blink of an eye, but that's your only chance."), it will activate Level 3 Heavy Stander; all attacks will only do one damage. In order to deactivate its Heavy Stander, players must successfully use Counterattack against it. After being countered, the boss will then say something (e.g. "..My power is distracted...") and will not do anything for a while, giving an opening. Repeat the above steps until it is defeated.
- After defeating the boss, the RP will end and players will receive the Origin of Power Keyword.
- Manually complete the quest to receive 110,000 EXP.
- Talk to the NPC corresponding to the player's race (see below).
- Talk to Aer and she will take the Glowing Stone Gargoyle Statue. You will receive a Mythril Armor with the Spirit's Blessing, a Red Wings of a Goddess that transports to Ciar Dungeon, and the Power of the Spirits' Blessings Keyword.
- Drop the armor on Ciar Dungeon's Altar. For more information on the dungeon, click here.
- If you happen to lose the armor, you may speak to Duncan with the keyword "Power of the Spirits' Blessings" to retrieve it again.
- Players will RP as a Brown Hawk or a White Snowfield Bear depending on if the player character is an Elf or Giant respectively.
- The boss is a Giant Brown Hawk or a Giant White Snowfield Bear if the player character is an Elf or Giant respectively.
- When it starts talking (e.g. "I am powerful.", "You'll need to break my concentration. It may be in a blink of an eye, but that's your only chance."), it will activate Level 3 Heavy Stander; all attacks will only do one damage. To break its concentration, you must successfully use Counterattack against it. Afterward will then say something (e.g. "My power is distracted...") and will not do anything for a while, giving an opening. Repeat until it is defeated.
- Bug Notice: Bosses may become unresponsive, making it harder to drop its Heavy Stander.
- After defeating the boss, the RP will end and you will receive the Origin of Power Keyword.
- Manually complete the quest to receive 110,000 EXP.
|
Esras's Plot
The Secret Letter Box

|
Name
|
Esras' Letter Box
|
NPC
|
Price
Lassar
|
| Information
|
Take advantage of the Price Timer (Located on the right side) to find Price's location and Moon Gates to quickly meet up with Price.
|
| Instruction
|
- Talk to Price. He will give you Letter Box from Redire.
- Talk to Lassar located inside Tir Chonaill's Magic School. She will exchange the Letter Box for Esras' Letters.
- Talk to Price. He will take Esras' Letters.
- Talk to Dilys located inside Tir Chonaill's Healer's House.
- Talk to Kristell located at Dunbarton's Church.
- Manually complete the quest to receive 25000 EXP.
|
Esras's Plot

|
Name
|
Esras's Plot
|
NPC
|
Seumas
Price
James
Esras
|
| Information
|
Due to the length of the dungeon, you may want to stock up on items, such as Potions, Bandages, and Phoenix Feathers for reviving Pets.
The first final boss is Tabhartas, who fights similarly to Golems. Although you will have a buff in stats, discretion is still advised, even after defeating Tabhartas.
The second final boss, Esras has a similar AI to Succubi, but she is capable of summoning Dark Skeletons and can replace any if necessary.
|
| Instruction
|
- Talk to Seumas located at the Dragon's Ruin in Gairech Hills.
- Talk to Price.
- Talk to James located at Emain Macha's Church.
- Head to Emain Macha's Castle's Lobby. A cutscene will play and you will be transported to Barri Dungeon with the Barri Dungeon Pass in your Special Inventory.
- If you need another pass, go back to the Lobby. The scene will replay and you will have another pass.
- Drop the Barri Dungeon Pass on Barri Dungeon's Altar. For more information on the dungeon, click here.
- This is the final dungeon. Please prepare yourself accordingly before entering.
- Can only be done solo.
- At the boss room, Tabhartas will spawn.
- Wait until Tabhartas defeats Redire. After the cutscene plays, you will receive Spirit of Order (if Human), Fury of Connous (if Elf), or Daemon of Physis (if Giant), all at Rank F, and automatically be transformed into a Paladin/Falcon/Beast.
- Dark Knight Humans replaying Generation 2 will temporarily revert to Paladin of equal rank until they defeat Tabhartas.
- If you leave the dungeon without defeating Tabhartas/Esras, the race specific transformation skills will be unusable and unrankable.
- This transformation lasts as long as it normally would, and can only be used once daily.
- Certain Paladin pets will transform in tandem with its master.
- After acquiring the transformation, defeat Tabhartas
- Please read Tabhartas's page to view information and advice on it.
- Once Tabhartas is defeated, a cutscene will play.
- Transformation will wear out regardless of its duration.
- Once the cutscene is over, defeat Esras.
- Please look at Esras's monster page to view advice and information on her.
- Once both bosses are defeated, the player will be transported to to Emain Macha (outside the Cathedral).
- Humans will receive Power of Order, Eye of Order, Sword of Order, Paladin Heavy Stander, Paladin Mana Deflector and Paladin Natural Shield.
- Elves will receive Elven Magic Missile, Armor of Connous, Mind of Connous, Sharpness of Connous, Connous Heavy Stander, Connous Mana Deflector and Connous Natural Shield.
- Giants will receive Giant Full Swing, Shield of Physis, Spell of Physis, Life of Physis, Physis Heavy Stander, Physis Mana Deflector and Physis Natural Shield. All skills are at Rank F.
- Manually complete the quest to receive 215000 EXP.
|
[show] Game Scripts Game Scripts  |
|---|
|
| Chapter 1 | | | | Chapter 2 | | | | Chapter 3 | | | | Chapter 4 | | | | Chapter 5 | | | | Chapter 6 | | | | Chapter 7 | | | | Arcana | | | | Chapter 8 | | | | Event | | | | Other | |
|
|

